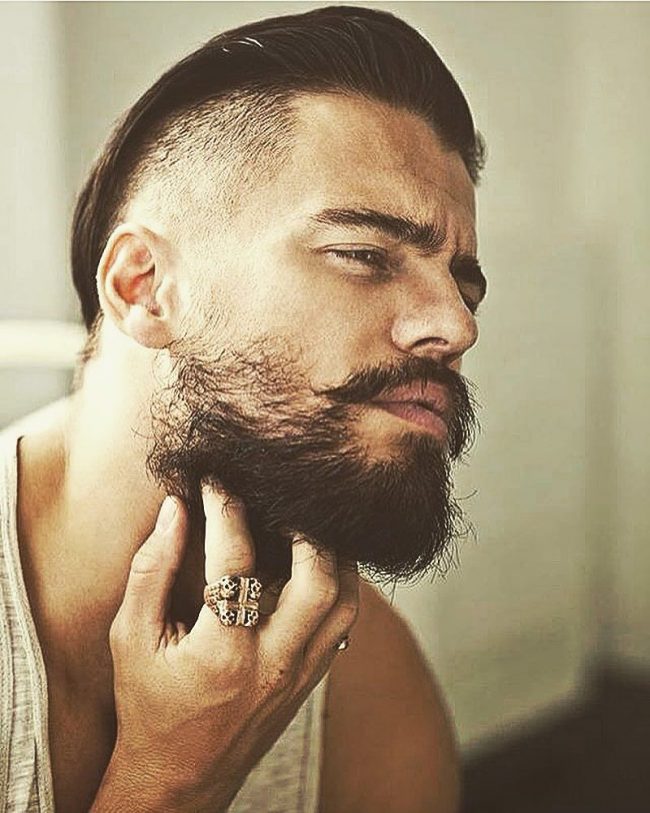
There’s no point in lovingly tending to your beard but ignoring the hairiness that lies beneath your jawline. If you don’t tend to this hair, then you are going to have a messy beard that looks untidy and not well maintained at all.
Trimming the hair that grows into the neck is essential as it defines any sexy bearded look.
However, trimming the beard neckline can be difficult, and there are plenty of scary pictures on the internet showing how silly it can look when done incorrectly.
That’s why we decided to bring you this guide on achieving the perfect beard neckline so you can be swoon-ready in no time.
# 1 Be Prepared
If you are serious about having a beard then you should invest in the right products and equipment to maintain it.
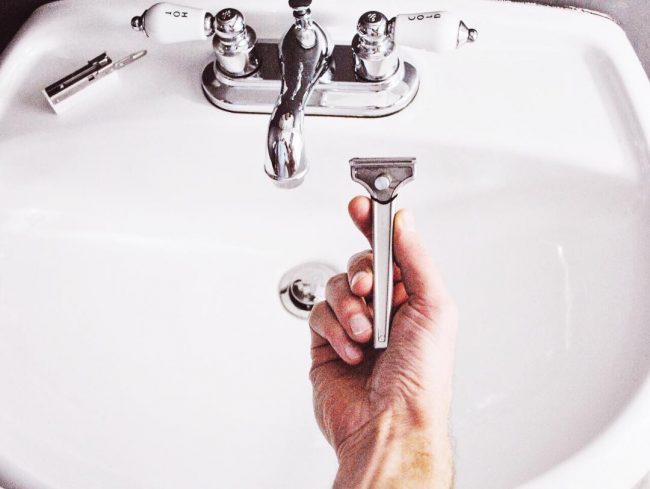
Before you embark on a maintenance routine, first ensure you have a good-quality pair of clippers (and that they are cleaned and oiled), as well as a pre-shave oil, hydrating shaving cream, after-shave balm, and a wide-tooth beard comb.
For trimming the neckline, you need a mirror that you can stand in front of, preferably a small handheld mirror, and a mirror that you can check the sides with.
# 2 Know Where To Cut
When is neck hair ready to be trimmed? As soon as it is past stubble length, which is about 3mm. If your hair has passed this stage, then it is definitely time to tidy up!
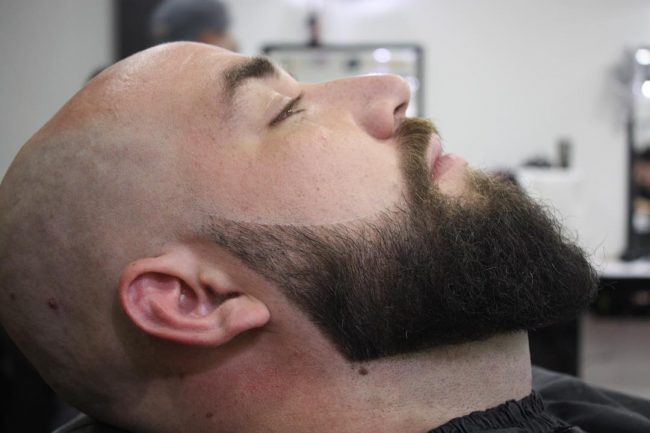
Now comes the trickiest part (so don’t rush), you need to find the line. This is the line that separates the head from the neck and where you want your beard to end.
To do this, imagine an invisible line that runs from underneath your earlobe down under your chin and back up to the other earlobe. If you want a neat beard line, you will trim everything below that line.
You can also use your Adam’s apple to measure; usually, the line is one to two fingers above it. This can differ from person to person, so try both to see what suits your face better.
Avoid making the separation line too rounded; a slight up curve is what you should be shooting for.
# 3 Now Shave

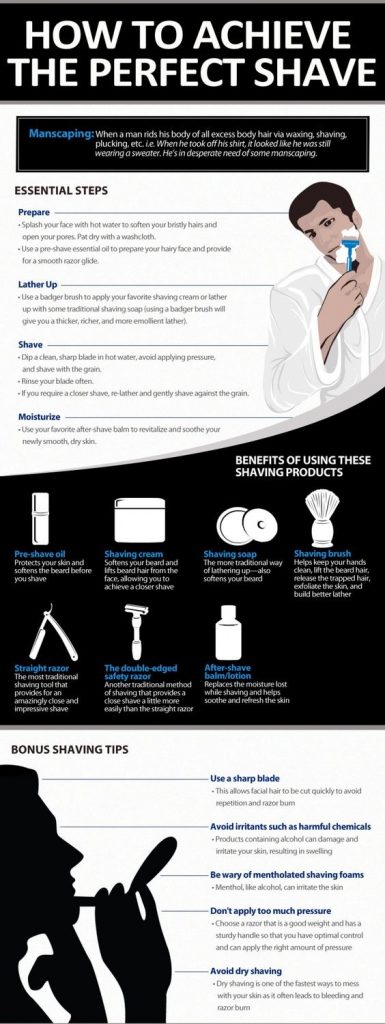
There is much debate about what is better—shaving with the grain or against the grain. The truth is this: yes, you will get a closer and smoother shave if you go against the grain, but you will also do more damage, which means irritation and ingrown hairs.
So the best way to shave, if you want to avoid angry skin, is to go with the grain. Remember to apply your pre-shave oil and moisturizing shaving gel (to help the hair stand up straight) before you begin, and if possible, have a warm shower before you start your shaving routine.
This works to soften the hair and prepare it for cutting. Stand in front of the mirror and observe the lines of your face, focusing on the imaginary ear-to-ear line we explained earlier. Tilt your head back if you need to visualize it more carefully.
Now always working from the middle outward (so starting just above the Adam’s apple) begin to define the line with your razor. Once you reach the side, return to the middle and work your way to the other side.
Once this line has been defined, you need to clear everything below it. Use your handheld mirror to check your symmetry. See, looking better already!
But what about the area where the lower beard joins the face (at the angle of the jaw)?
Well, you have two choices here: You can make the line more masculine by shaving it into an angular line, or you can round these lines off for a more classic beard look.
You may also want a graded look where the hair gradually reduces in length. This is relatively easy to achieve. Instead of shaving a defined line in the area above Adam’s apple, take another minute to divide this area of the neck into two rows mentally.
On the uppermost row, you will shave the hair with the clippers on their regular setting, and on the bottom, you will use the next lowest setting. This will give you a neat gradient instead of a severe ending.
# 4 Don’t Forget Aftercare

Once you are happy with your beard line, you can trim the rest of your facial hair if needed and then apply a soothing aftershave balm to help your skin recover and replenish the moisture lost during shaving.
If you are going to style your beard, remember to use products specially formulated for facial hair.
# 5 Maintain
Shaving the neck is hard to get right, but your skills will improve every time you try, so don’t worry if it’s not perfect the first time; it will soon be.
Initially, you should just try to get the line right and avoid the classic mistake of trimming too high and cutting in at the jawline. Remember that you can always take more hair off, but you can’t put it back, so work slowly.
Without maintaining the neckline, a beard can very quickly start to look messy and unkempt. The neckline outlines the bottom portion of the beard and gives it shape, so it’s important to know how to maintain it correctly.
Follow this guide, and visualize the line before you begin. Make sure you have the correct tools, and work slowly at first, focusing on creating a slight up curve.
Once you have finished, be sure to use products to keep the hair and skin looking good, as razor irritation will ruin all your hard work.
If you don’t get it the first time wait until it grows out again and try again; practice makes perfect. All beards look better with a neat neckline unless you are trying to rock the grizzly man look so it’s worth the effort!
