Taper and fade are two different styles of haircut that have been combined to give a man that contemporary classic hairstyle. The taper fade isn’t a normal experiment for you to do by yourself unless you have valued skills in this field. You have to built a foundation of knowledge to get this perfect on you and here we are to help you with a step-by-step guideline for it.
How to Do A Taper Fade Haircut
Tools You’ll Need
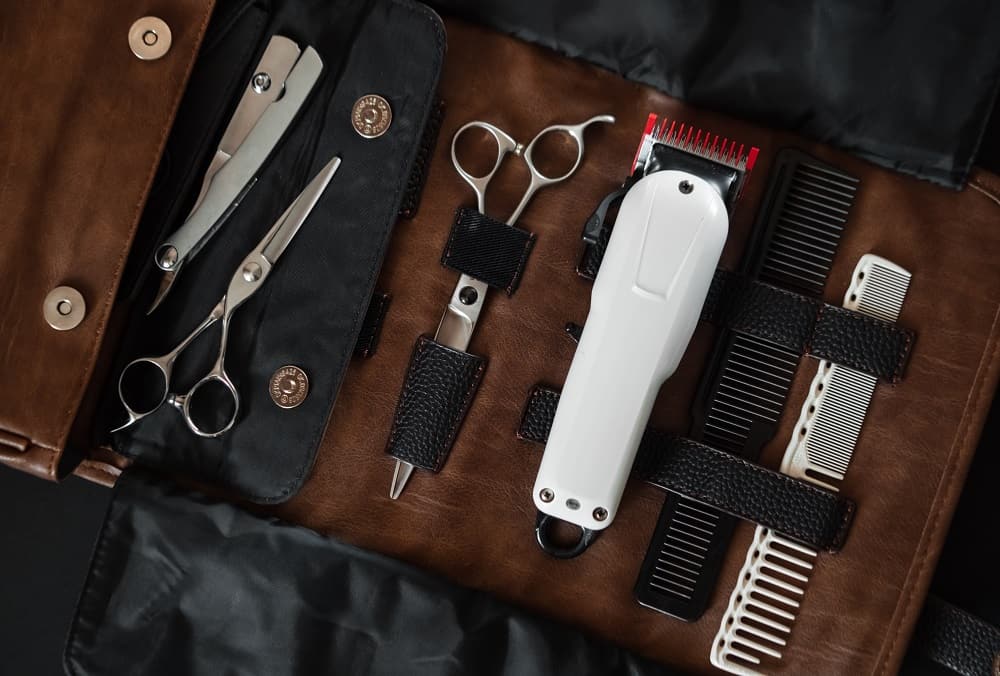
Starting with a few tools here that you’ll need for sure. You’ll need to invest in the right cutting and styling tools to taper and fade your hair. It’s a gentle reminder that you should never mess with tools. false tool and boom! Ruined haircut. So, make sure you have the right tools on hand for DIY (Do it Yourself).
Choose The Right Clippers: Credit for fading your hair perfectly goes straight to the magic of the right clippers. You can either go with barber clippers that are often used for professional causes only or just the regular fade clippers.
These clippers must include the finest blades, the most efficient motors, and a full suite of combs and extras for every cut.
Scissors; Sharp Enough: Remember that a blunt scissor will never cut the edges neatly; instead, it will jumble up the entire style and cause you difficulties.
Two Mirrors: Set one in front of you and the other behind you to have a 360-degree view while cutting so that you can’t ever mess up the style.
Regular Comb: To comb, separate, and catch each section and portion of hair evenly.
Outlining Trimmer: For a precise outline and ear edge-ups, use an outlining trimmer.
Steps to Follow
1. Damp & Comb The Hair
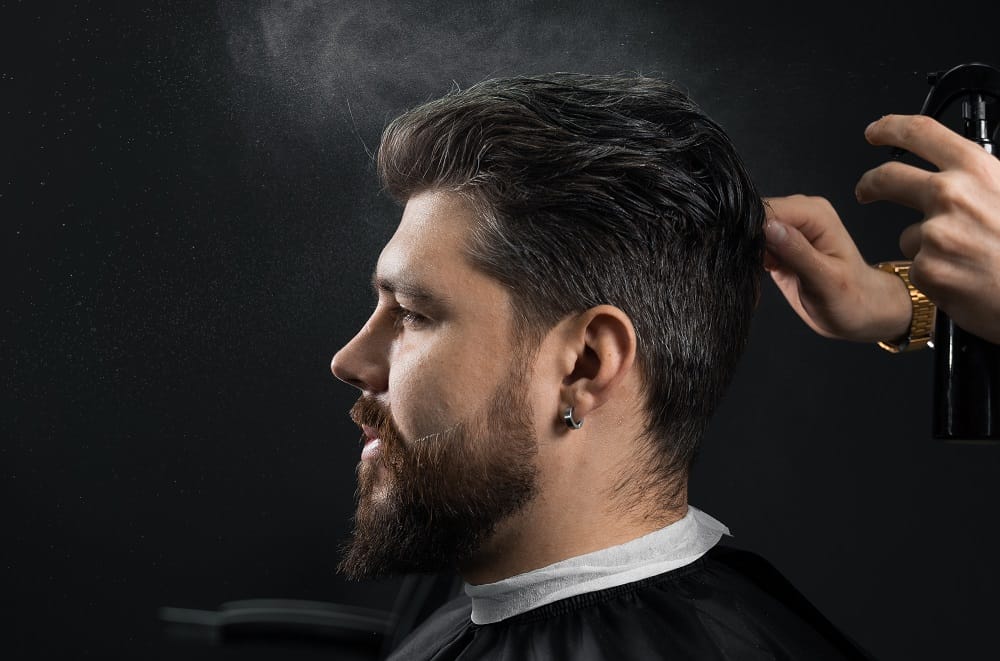
You should always dampen your hair before cutting. Spraying it down makes it a lot easier to make cuts. Hair should be washed and dried as usual. Use a comb and a hairdryer to straighten the curls. Straight hair is more manageable. Make sure your hair isn’t knotted. Otherwise, clipping may create difficulties for you.
2. Choose The Guard Size to Create the Perfect Fade
For a perfect and even fade line, select the appropriate guard width first. There are a couple of guard sizes you need to get familiar with first. Start with the bigger guard size; the first guard, shorter guards, and lower guard.
The first guard is to shave the sides and back of your hair. Switch to short guards as you move the downside of your head. You’ll leave the top the same length as before by moving it halfway down the head.
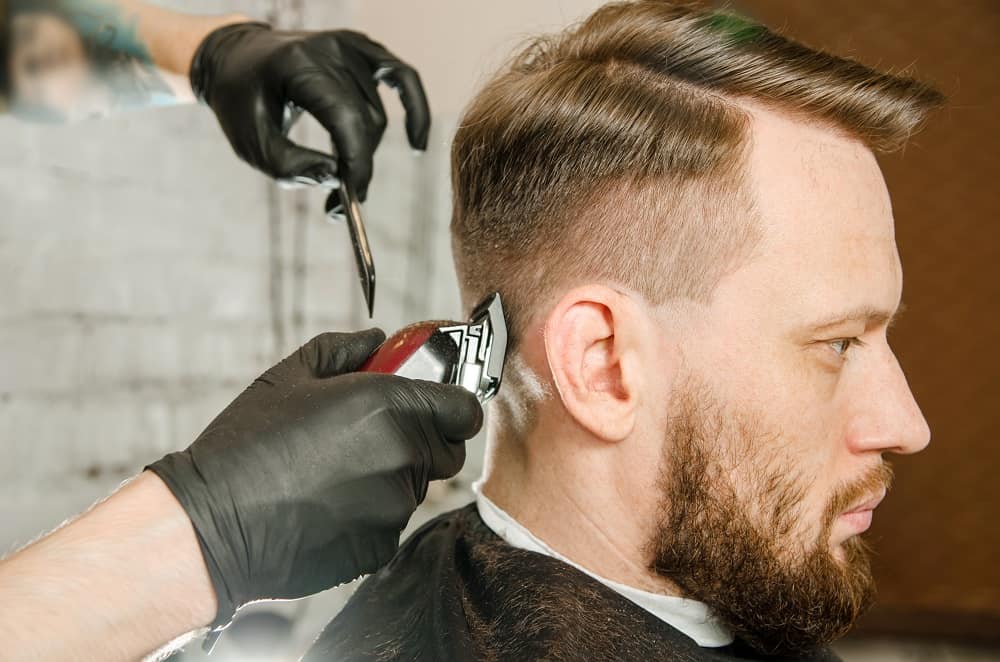
3. Decide The Fade Lines
You need to decide the lines for fades before you begin to cut. This is a very important step that you can’t miss. There is no limit to how many fade lines you can have. Start with one on your first-chop and work your way up to two as your confidence grows.
It’s a matter of personal preference where you place the fading line. It can be worn between the top of the ear and 2 or 3 inches above it.
4. Cutting The Hair
- Now, it’s time to start the cutting process. Remember to be as gentle and be patient throughout this whole process. If you snip one wrong portion, you can mess up your style and will regret it later. We can do it in several parts; following one by one.
- separate the top portion of your hair. Mark a rectangle using a comb above the round of your head. This will help you differentiate between the long hair on top and the smaller side ones. You can use a small clip to stop hairs coming in your way.
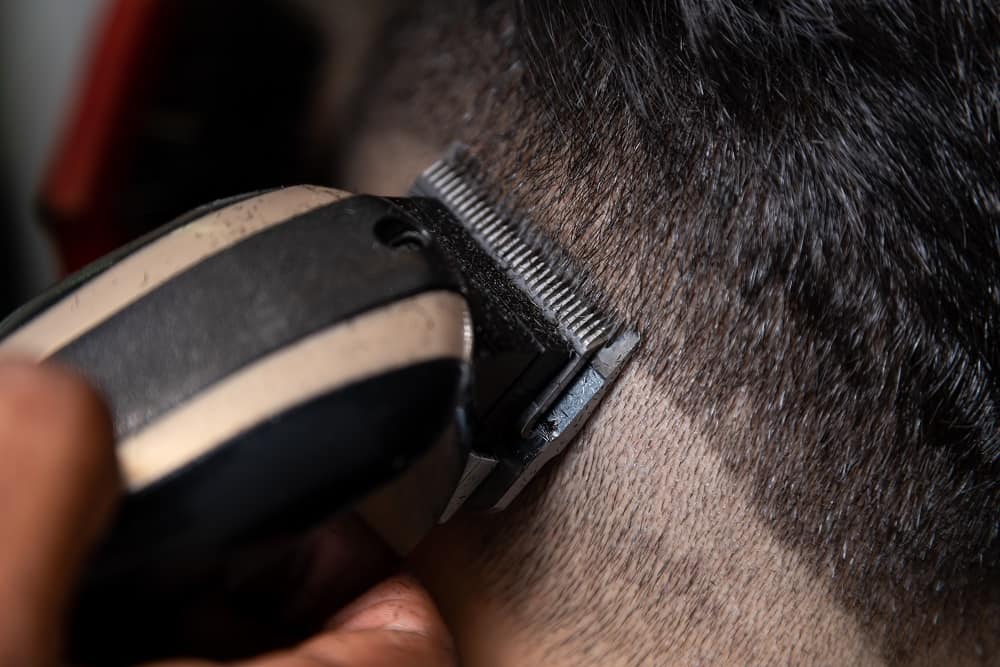
- As with cutting your face, the standard rule is to shave in the reverse way of hair growth. You have to move the clippers vertically from the start. Begin from the sideburns and work your way back to the head, moving the clipper upwards.
- Make upward sweeps with your clippers, arcing out with each stroke. Don’t make any cut or trim the hair on top of the head that has been separated away. Gently press down on the scalp immediately below where you’re cutting with your free hand. This will ensure that the cutting is straight and even.
- Shave in the same manner as before, starting at the bottom and working your way up. To ensure an accurate fade, don’t be in a hurry. You must take it slow. Clean up the fade with a small comb. You will have a good clean fade with no apparent fading lines if everything is executed properly.
- Now it’s time to do the top part of the hair. You can use either a scissor or just a higher guard. If you want to keep it longer, then scissors would be appropriate.
- Lift the hair with a comb or your fingertips and cut above it. As you cut, double-check the edges. To create a faded appearance with long hair, trim the hair at an angle as you proceed towards the back of the head.
- The length of your upper sectioned hair can be measured according to your preference. Proceed to do the same as much as you want until you get the desired length/look.
5. Final Touch
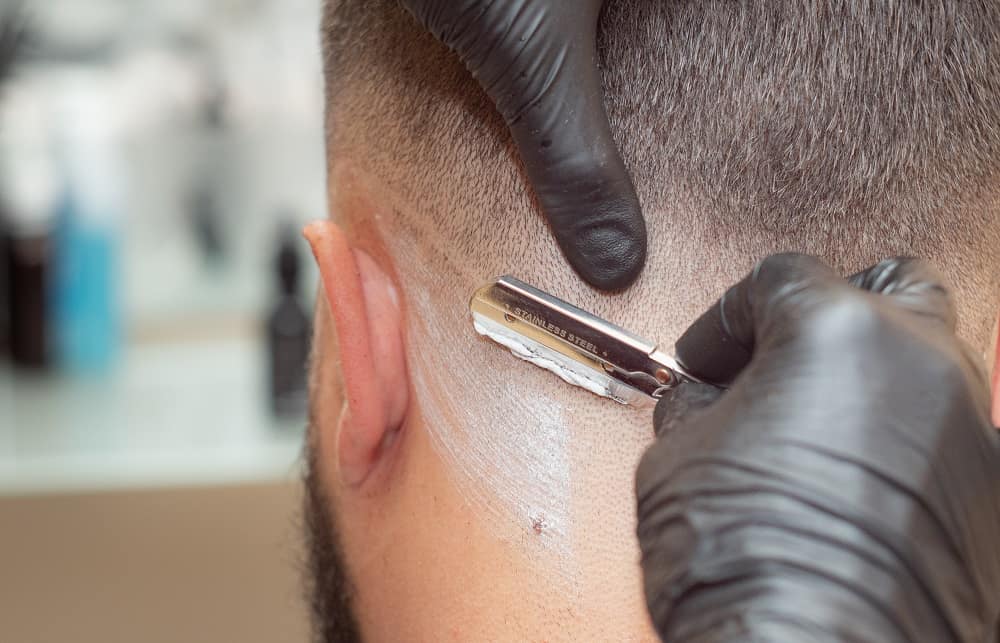
Use a straight razor or a trimmer to trim up the ends of the cut and to remove any neckline hair or uneven areas. Apply moisturizing cream to the area you’re about to shave with a razor blade, then dab with a warm wet cloth. For a finishing touch, brush out any stray hairs and shape the front with wax or gel.
Tips before chops!
- Make sure the equipment you use is neat and clean beforehand.
- Don’t lose your patience. Once you get a hang of it, the process will be a lot faster.
- Never be afraid of new experiments!
- Last but not least, your measurements don’t have to be exact figures as long as you keep the haircut consistent.